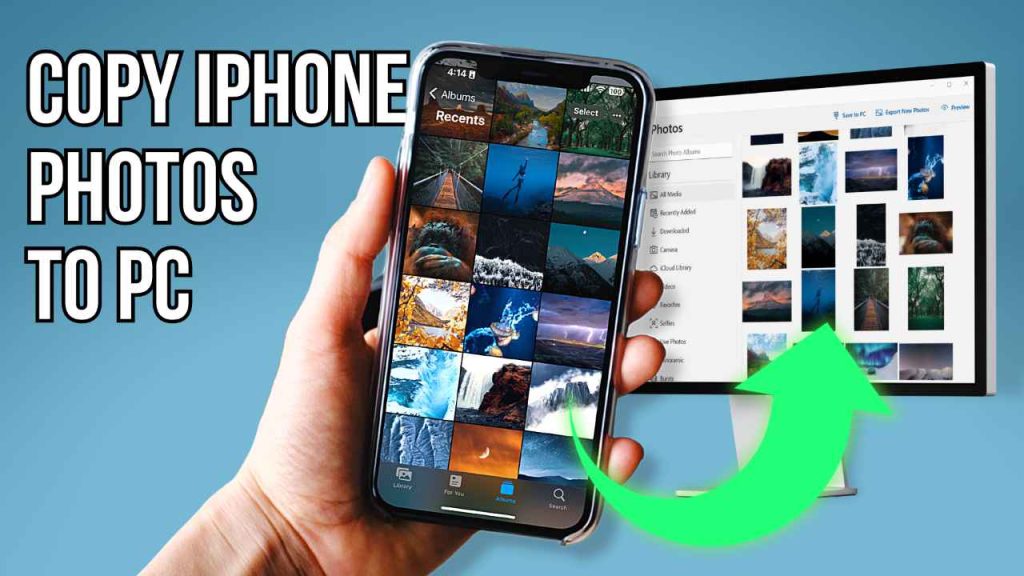
In today’s digital age, capturing memories through photographs is an essential part of any travel experience. With the ever-improving camera technology in smartphones, iPhones have become a popular choice for travelers to capture stunning shots on the go. However, as our photo collections grow, the need to transfer these images from our iPhones to our computers becomes crucial. Whether it’s for backup, editing, or sharing, knowing how to efficiently transfer photos from your iPhone to your computer while traveling is a valuable skill. In this article, we’ll guide you through the process step by step.
Table of Contents
- Introduction
- Choosing the Right Transfer Method
- Method 1: Using a USB Cable
- Step 1: Connect Your iPhone to the Computer
- Step 2: Trust the Computer on Your iPhone
- Step 3: Importing Photos to the Computer
- Method 2: Using iCloud
- Step 1: Enable iCloud Photos on Your iPhone
- Step 2: Accessing iCloud Photos on Your Computer
- Step 3: Downloading Photos to Your Computer
- Method 3: Using AirDrop
- Step 1: Activate Bluetooth and Wi-Fi
- Step 2: Select and Send Photos via AirDrop
- Method 4: Using Third-Party Apps
- Step 1: Choose a Trusted App
- Step 2: Install and Set Up the App
- Step 3: Transfer Photos through the App
- Tips for Efficient Photo Transfer
- Tip 1: Organize Your Photos Beforehand
- Tip 2: Delete Unnecessary Photos
- Tip 3: Use HEIC Format for iPhone Photos
- Ensuring Photo Security While Traveling
- Conclusion
Introduction
Traveling brings about memorable moments that we want to preserve through photographs. However, the limited storage space on iPhones can quickly fill up, making it necessary to transfer these photos to a computer.
Choosing the Right Transfer Method
Before you begin transferring your photos, it’s essential to choose a suitable method based on your preferences and the tools you have available. Here are four methods to consider:
Method 1: Using a USB Cable
Step 1: Connect Your iPhone to the Computer
To start, connect your iPhone to your computer using a USB cable. Your computer may prompt you to “Trust this computer.” Accept this prompt on your iPhone.
Step 2: Importing Photos to the Computer
Once the connection is established, open the Photos app on your computer. Select your iPhone, choose the photos you want to transfer, and click “Import Selected.” You can also choose “Import All” to transfer all photos.
Method 2: Using iCloud
Step 1: Enable iCloud Photos on Your iPhone
Before your trip, ensure iCloud Photos is enabled on your iPhone. Go to Settings > [Your Name] > iCloud > Photos and turn on “iCloud Photos.”
Step 2: Accessing iCloud Photos on Your Computer
On your computer, open a web browser and visit iCloud.com. Sign in with your Apple ID, then click on “Photos.” You can now view your entire iCloud photo library.
Step 3: Downloading Photos to Your Computer
To download photos, select the ones you want to transfer and click the download icon. This will save the photos to your computer’s downloads folder.
Method 3: Using AirDrop
Step 1: Activate Bluetooth and Wi-Fi
Swipe down on your iPhone to open the Control Center. Ensure Bluetooth and Wi-Fi are turned on for both devices.
Step 2: Select and Send Photos via AirDrop
Open the Photos app on your iPhone, select the photos, and tap the Share button. Choose your computer from the AirDrop options. Accept the transfer on your computer.
Method 4: Using Third-Party Apps
Step 1: Choose a Trusted App
Research and choose a reputable third-party app from the App Store that facilitates photo transfer.
Step 2: Install and Set Up the App
Download and install the chosen app on both your iPhone and your computer. Follow the app’s instructions to set it up.
Step 3: Transfer Photos through the App
Use the app’s interface to select and transfer photos from your iPhone to your computer.
Tips for Efficient Photo Transfer
- Tip 1: Organize Your Photos Beforehand: Delete unnecessary photos and group the ones you want to transfer into albums for easy selection.
- Tip 2: Delete Unnecessary Photos: Before transferring, take the opportunity to declutter your photo library by removing duplicates and irrelevant shots.
- Tip 3: Use HEIC Format for iPhone Photos: If your devices support it, use the High-Efficiency Image Format (HEIC) to save space without compromising quality.
Ensuring Photo Security While Traveling
While transferring photos, it’s vital to maintain the security of your memories. Always use secure connections and avoid using public Wi-Fi for transfers to prevent unauthorized access to your photos.
Conclusion
Transferring photos from your iPhone to your computer while traveling is a simple yet essential task to ensure your memories are safe and accessible. Whether you opt for a wired connection, cloud-based solution, or third-party app, the methods outlined in this article will help you seamlessly transfer your photos and make room for more unforgettable moments.
FAQs
Q1: Can I transfer photos without a cable connection? A1: Yes, you can use methods like iCloud and AirDrop to transfer photos wirelessly.
Q2: Are third-party apps safe to use for photo transfer? A2: Stick to well-reviewed and reputable apps from the App Store to ensure safety.
Q3: Does using HEIC format affect photo quality? A3: HEIC maintains high quality while significantly reducing file size.
Q4: Can I access my transferred photos offline? A4: Yes, transferred photos are saved to your computer and can be accessed offline.
Q5: Is iCloud storage necessary for iCloud Photos? A5: Yes, you’ll need sufficient iCloud storage to store your entire photo library.
